Hey there, driveway DIY enthusiasts! If you’ve noticed a few cracks or unsightly spots on your concrete driveway, don’t worry! With a little elbow grease and this handy guide, you’ll have your driveway looking as good as new in no time. Best way to find the Houston concrete Contractor.
Before diving into the nitty-gritty, let’s explore why tackling this project on your own can be a rewarding endeavor.
Cost Savings
Hiring a professional can be expensive. By opting to do it yourself, you’re cutting out labor costs, which can be a significant portion of the repair bill. The materials themselves are relatively affordable, and you’ll find that your investment is mostly in time and effort rather than money.
Satisfaction of Accomplishment
There’s a unique satisfaction that comes from completing a hands-on project. Repairing your driveway yourself means you can take pride in a job well done every time you pull up to your home. It’s a tangible way to see the fruits of your labor, which can be incredibly fulfilling.
Customization and Learning
When you’re in charge, you have the freedom to learn and apply new techniques, potentially even experimenting with decorative finishes or patterns. This hands-on experience not only enhances your skills but also allows you to tailor the repair to your preferences.
Getting Started: Assess the Damage
Evaluating the damage is a crucial first step in the repair process. Understanding the extent and type of damage will guide your approach.
Types of Damage: A Closer Look
- Hairline Cracks: These small, surface-level cracks are common and usually not indicative of severe structural issues. They’re relatively straightforward to repair with the right materials.
- Potholes: These larger depressions can be more challenging, often requiring more material and time. They can indicate underlying issues with the foundation if they frequently appear.
- Spalling or Chipping: This occurs when the surface of the concrete flakes or chips away, often due to freeze-thaw cycles or poor initial installation. It requires a more comprehensive approach to repair.
Determining the Cause
Understanding the root cause of the damage is essential. Is it due to weather conditions, heavy loads, or poor drainage? Identifying the cause helps prevent future issues and ensures your repairs are more effective.
Prioritizing Repairs
Not all damage needs immediate attention. Prioritize based on severity and potential for worsening. Immediate repairs should focus on preventing further deterioration, while less urgent issues can be scheduled for later.
Gather Your Materials

Having the right materials is half the battle in ensuring successful repairs.
Essential Tools and Supplies
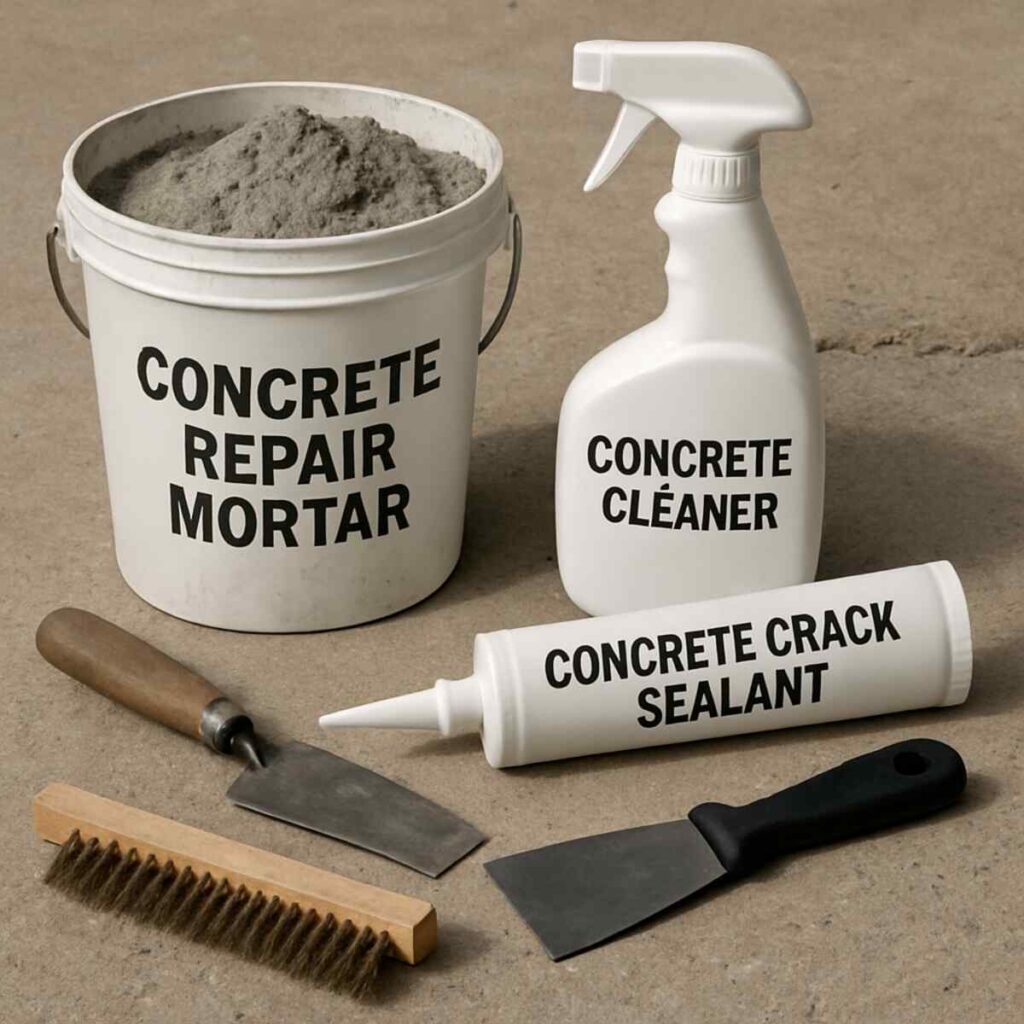
- Concrete Patch: Ideal for filling cracks and small holes, providing a smooth finish that blends with the existing surface.
- Concrete Resurfacer: A great option for giving your entire driveway a fresh, uniform look without replacing it entirely.
- Trowel: A must-have for applying and smoothing the concrete patch, ensuring a professional finish.
- Pressure Washer or Hose: Cleans the area thoroughly, removing dirt and debris that could interfere with adhesion.
- Wire Brush: Prepares the surface by scrubbing away loose material and ensuring a clean slate for repairs.
- Protective Gear: Gloves, safety glasses, and a dust mask are essential for keeping safe during the repair process.
Additional Considerations
Consider the weather conditions before starting your repairs. Ideally, you’ll want a dry, mild day for the concrete to set properly. Also, think about additional tools like a mixing drill or wheelbarrow for larger jobs.
Sourcing Quality Materials
Opt for high-quality materials from reputable suppliers. This can make a significant difference in the longevity and appearance of your repairs. Don’t hesitate to ask for recommendations or read reviews.
Step-by-Step Repair Process
Step 1: Clean the Surface
Cleaning is a vital first step.
- Thorough Cleaning: Use a pressure washer for a deep clean, ensuring all dirt, debris, and oil stains are removed. This step is crucial because a clean surface guarantees better adhesion of the repair materials.
- Addressing Stubborn Stains: For persistent stains, consider using a concrete cleaner or degreaser. These specialized products can help lift oil and grime that might interfere with the repair.
- Dry the Surface: Ensure the surface is completely dry before proceeding. Moisture can compromise the integrity of the repair.
Step 2: Fix Small Cracks
For hairline cracks, a concrete patch is your best friend.
- Mix the Concrete Patch: Follow the instructions on the package carefully. The right consistency is key to a successful repair.
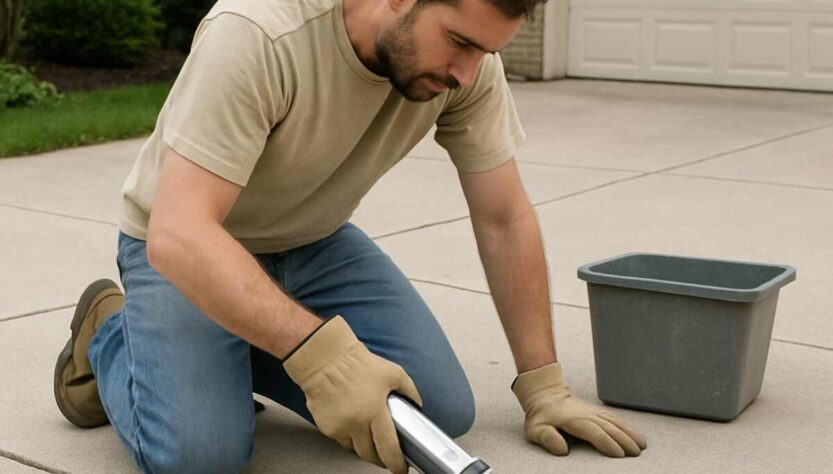
- Apply the Patch: Use a trowel to fill the cracks with the mixture. Take your time to ensure the patch is compact and well-applied.
- Smooth it Out: Gently smooth the surface with the trowel, removing any excess patch. This helps in achieving a seamless finish.
- Let it Cure: Allow the patch to cure as per the manufacturer’s instructions. Avoid traffic on the repaired area until it is fully set.
Step 3: Repair Larger Holes and Potholes
For bigger issues like potholes:
- Prepare the Area: Remove any loose debris or broken concrete to create a stable base for the new material.
- Mix Your Concrete: Mix a batch of concrete according to the product instructions, ensuring a consistent blend for durability.
- Fill the Hole: Pour the concrete mix into the hole, slightly overfilling it to account for settling.
- Level It: Use your trowel to level the surface with the surrounding area, achieving an even finish.
- Curing: Allow the concrete to cure for the recommended time. This step is crucial for long-lasting results.
Step 4: Resurface for a Fresh Look
If your driveway looks tired overall, consider resurfacing.
- Mix the Resurfacer: This is usually a thin mixture, so be sure to follow the guidelines closely for the best results.
- Apply Evenly: Use a long-handled squeegee to spread the resurfacer evenly over your driveway, working in sections to maintain control.
- Smooth the Surface: Work quickly to smooth out any ridges or uneven areas, ensuring a uniform appearance.
- Dry and Cure: Let the resurfacer dry completely before using the driveway. This step ensures a durable and attractive finish.
Maintenance Tips
Regular maintenance is key to keeping your driveway looking its best.
Routine Inspections
Make it a habit to inspect your driveway regularly, especially after harsh weather conditions. Early detection of cracks or damage can prevent more extensive repairs later.
Sealing for Longevity
Seal your driveway every couple of years. A good sealant protects against water penetration, which can cause cracks and other damage over time. It also helps maintain the driveway’s appearance.
Prompt Repairs
Address any new cracks or damage promptly. Small issues can quickly turn into larger problems if left unattended, leading to more costly repairs down the line.
When to Call the Pros
While DIY repairs can handle most minor to moderate issues, severe damage might require professional concrete repair services.
Recognizing Serious Damage
Large, spreading cracks or significant structural issues are signs that you might need professional help. These could indicate underlying problems that a simple surface repair won’t fix.
Benefits of Professional Services
Professionals bring expertise and specialized tools to the table. They can quickly assess and address the root causes of your driveway issues, ensuring a comprehensive repair.
Finding the Right Contractor
If you decide to hire a professional, do your research. Look for reputable contractors with positive reviews and solid experience in concrete repair. This ensures you receive quality service and results.
Conclusion
Repairing your concrete driveway doesn’t have to be a daunting task. With the right materials, a bit of patience, and this guide, you can tackle minor repairs and give your driveway a fresh new look. So roll up those sleeves and get started!
Remember, practice makes perfect, and each repair is a step towards mastering the art of concrete driveway DIY. Happy repairing!
